

In this article, I will guide you on how you can fix the WindowBuilder not working error. Firstly, I will tell you when and why does WindowBuilder error occurs. Lastly, I will tell you how you can fix it.
When Does WindowBuilder Error Occur?
STEP 1: When you create the Java Project in Eclipse.
STEP 2: After creating the Project you need to create a JFrame.
STEP 3: For that Right Click on the src folder then click on the New. You see the many options, find out the other option, and click it.


Select the JFrame and Click on the Next Button. Then give the package name and JFrame name and Click on the Finish Button.

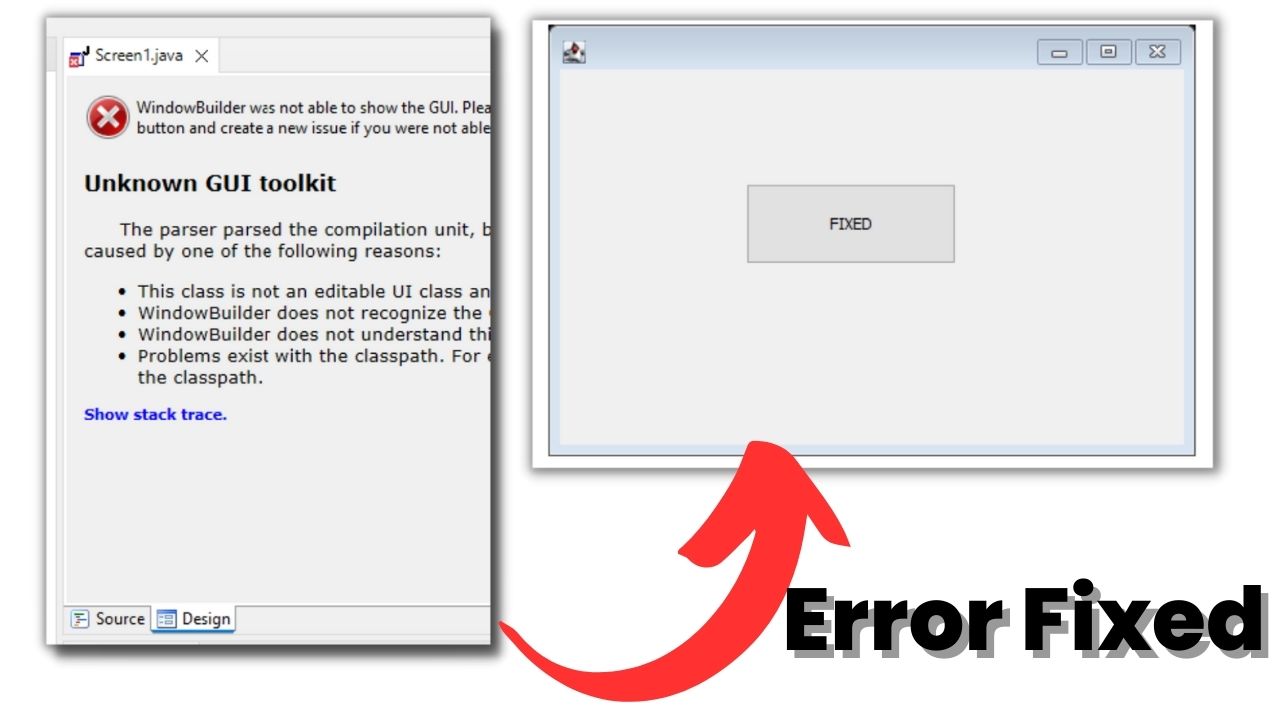
STEP 4: When you open the Design you will see the error "WindowBuilder Was Not Able to Show The GUI".
After following these steps you are getting this error. This error occurs because some of the WindowBuilder files are missing or not updated.
The solution of WindowBuilder Was Not Able to Show The GUI

